
If a functional impression is loaded that is not enclosed by the base border, the base border must be cut, so that the model boundary is the same as the base border.
Using an all-in-one
If a single all-in-one has been loaded (negative), it is used the same way as the vestibular scan for the definition of the three points. This step is now shown.
After the 3 points are set, the next step is dependent on the existing material. If only 1 model (all-in-one) is available, it must be cut and inverted. After the inversion step, 3 models (upper jaw, lower jaw, and vestibular scan) are available.
The UCAT is shown after inverting and cutting the models. So, for the UCAT step, the available material is always the same (3 models).
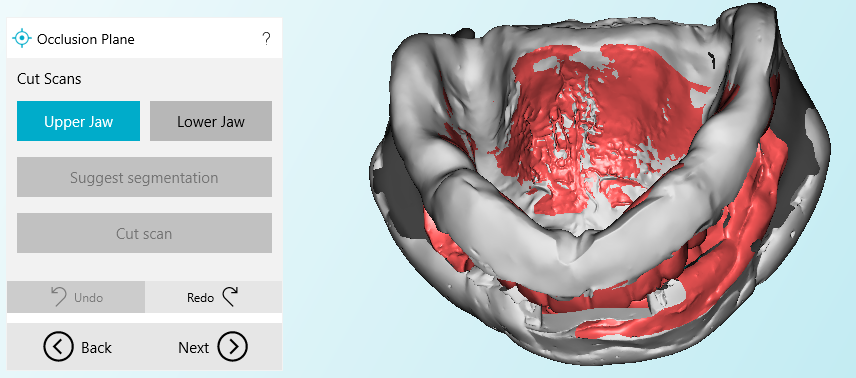
Create Jaws (from all-in-one)
If an all-in-one has been supplied, then we need to create the jaw models and the vestibular scan of it.
This step has to be done by looking onto the model via Z-direction. All vertices that are visible now should be coloured. This builds the mesh for the jaw model. Only the biggest surface is used to define the jaw, the other surfaces are ignored.
Next, the border of the coloured surface builds up the suggested border. This should be shown and can be changed by the user the same way as we handle the border in the base border step.
By applying the border, the jaw model is created by the polyline and all vertices that are within this area. The mesh building up the jaw is cut from the all-in-one. This is necessary because the remaining vestibular scan must be open. This is needed to be able to position the model on the UCAT and for other steps, where it must be possible to look from the top of the lower jaw.
The polyline created this way is, then used as the base border later on.
This step is repeated for the lower jaw.
At last the remaining model is cut to define the vestibular scan.